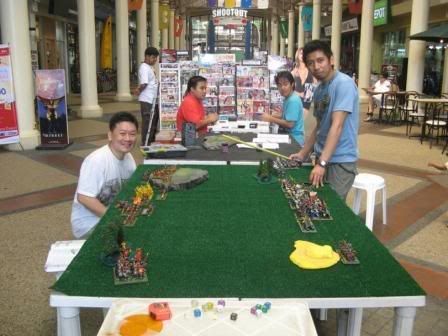
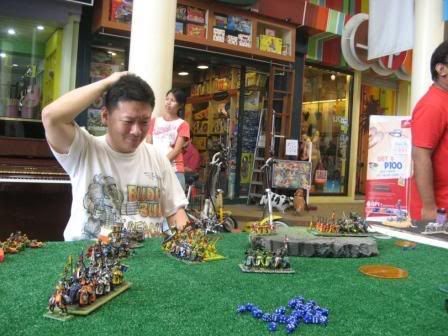
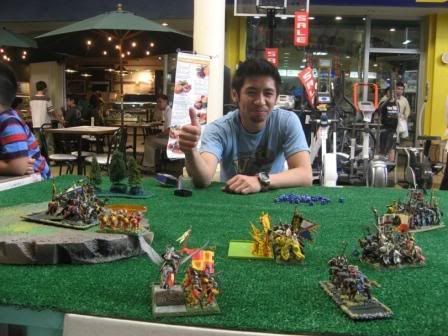
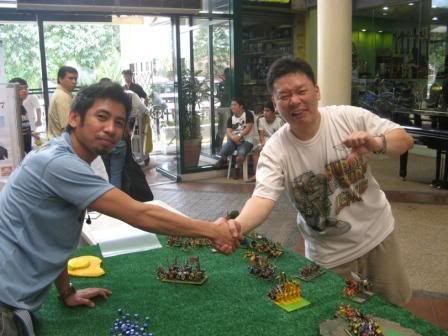
Players: Freddie Yu (Empire), Jojo Dalomias (Bretonnians)
Venue: Neutral Grounds ATC
Originally posted by Freddie Yu

Here is my first battle report for WHFB. This was a 2000-point battle with my Empire versus Jojo's Bretonnians.
I had an Arch Lector on foot, a Warrior Priest on horseback, a Level 2 Wizard on horseback, and a Level 2 Wizard on foot. I had a unit of Swordsmen with detachments of Halberdiers and Free Company, a unit of Greatswords with 2 detachments of Free Company, a Spearman unit with a detachment each of Crossbowmen and Handgunners, 1 Pistolier unit, 2 Great Cannons, and a Helstorm Rocket Battery.
He had a a Lord, a Battle Standard Bearer, and two Level 2 Mages as scroll caddies, one unit of Grail Knights, three units of Knights of the Realm (all in lances), two units of 5-man Errant Knights, one unit of Peasant Horsemen, and a small unit of Pegasus Knights.
Of course being Bretonnian, he elected to pray and I went first.
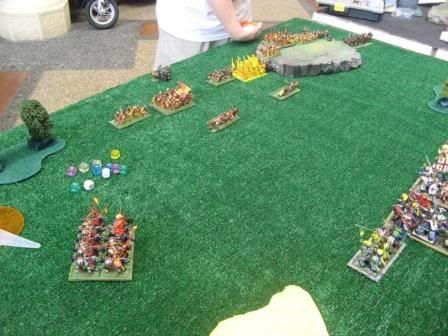
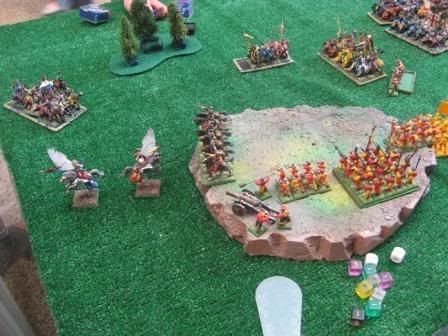
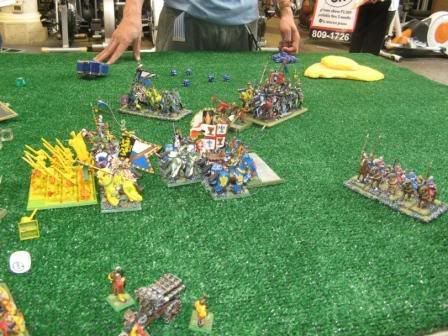
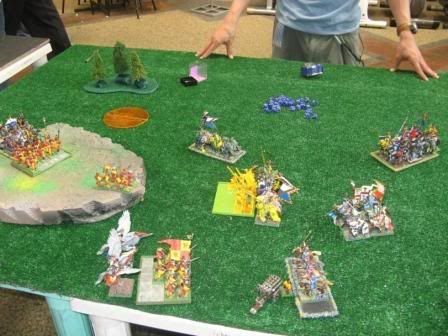
Empire Turn 1Two of my 5-man Free Company units well all the forward, my Pistolier unit on my left flank went forward a bit (to bait his Grails and/or Pegasus Knights to charge), and my Knight unit with the mounted characters (they were on the extreme right flank) went forward in a flanking maneuver, since his three KOTR were all in the middle and a measly Peasant Horseman unit was on that flank to bother me. All the rest shuffled slightly in anticipation of his movements.
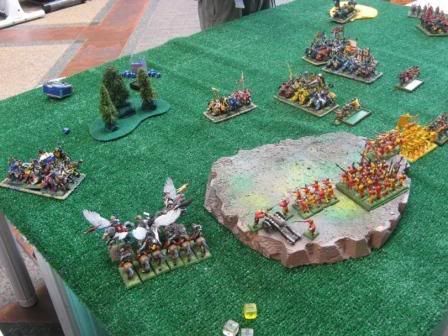
Magic phase was basically nothing. Shooting was eventful as one Cannon misfired and blew up. The Helstorm also misfired (luckily I just missed shooting this phase). The other Cannon accounted for two Grail Knights. Everything else was a bust, an ominous start.
Bretonnian Turn 1Jojo took the bait and declared a charge with his Pegasus Knights on my Pistoliers (he was an inch short). His Grails went way forward to challenge my firebase on the hill. His Errants also went forward into charge range (one was positioned within charge range of my Knights, in order to bait me to charge and it would probably flee), and his KOTR all moved forward. With one unit angling to face my Knight unit (and charge me in the flank if I failed my charge against his bait Errant unit). And the Peasant Horsemen moved forward to flank my Knights on the right side. Magic and Shooting was uneventful.
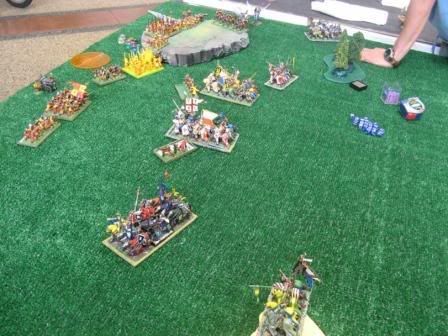
Empire Turn 2This would prove to be a pivotal turn for me. I declared a charge versus his KOTR which faced me. I would have been out of range if not for the Steel Standard, which added 1 inch to my charge range (it adds 1d3 inches). On the left flank my Pistoliers went around the Pegasus Knights and positioned thmeselves to receive the charge of the Grail Knights, but the resulting direction would ensure it would not overrun to my firebase on the hill. I moved by two 5-man Free Companies in front of the remaining KOTR units, angling in such a way that they would surely overrun away from my main infantry blocks, possibly exposing their flanks, or at least within charge range if they do not overrun.
My Magic Phase was uneventful. Shooting was very pivotal. My Cannon fired an S10 grapeshot volley at the Pegasus Knights, causing 3 wounds and removing a model (Panic Check was passed though). The Helstorm shot was disastrous in that while the roll made sure the template landed on one KOTR unit, it scattered to the Free Company unit blocking it, causing 2 wounds and panicking it, therefore freeing the Brets to charge into the middle of my lines!!! Lesson learned, it was my first time to use the Helstorm unit, and next I should make sure the target is far from my models! My Crossbows and Handguns managed to kill only one measly Errant Knight model.
The Close Combat Phase was decisive at this point. I had what I thought would be a sure win in close combat (my Knights had a Warrior Priest, making my unit have Hatred, rerolling missed rolls). I challenged his Champion with my Mage with a Van Horstmann's speculum and a Sword of Might, which had no effect; and the measly return hit at S3 caused a one! In a spectacular show of the Lady's Blessing, Jojo made all his armor and ward saves! As a result I lost combat by 1, promptly fled and was run down! Major blow versus me!
His turn 2 would really hurt, and I braced for impact.
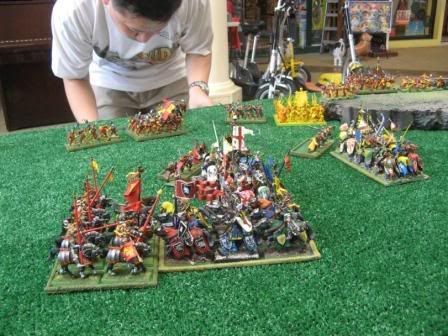
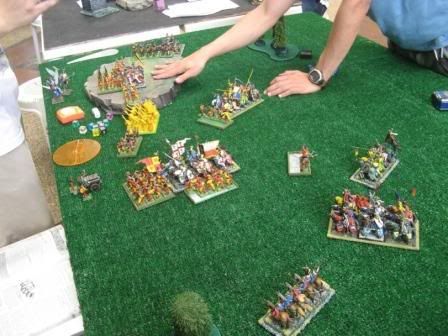
Bretonnian Turn 2Jojo declared charges: his Pegasus Knights charged my Cannon (which fled, got caught, and the Pegasi flew off board), his Grails charged my Pistoliers, 1 KOTR charged the Free Company in front of it, and his suddenly exposed KOTR (with the Lord and BSB!) charged my poor Swordsmen, and his 4-man Errants charged my Spearmen. The 9-man Halberd detachment countercharged the KOTR in the flank, negating his rank bonus, and my Crossbows and Handguns support fired versus the Errant that charged the Spearmen, causing another casualty. The Pistolier Stand and Shoot reaction did nothing. His KOTR which destroyed my Knights turned around, and his other Errant and Peasant Horsemen moved closer to the center.
His Magic and Shooting was uneventful, but his Close Combat was not. His KOTR unit with the Lord and BSB killed a lot of Swordsmen, but the Halberds got a kill in. The end result was that the Empire units held! The KOTR which charged the 5-man Free Company misdirecting it predictably wiped it out, and managed to roll high enough to join the combat with the Swordsmen (although at the extreme edge). Exposing his flank to my Greatsword unit, his Grails predictably wiped out the Pistoliers, but Jojo did not overrun since that would have exposed his Grails' flanks to the Spearmen and firebase. The Spearmen managed to defeat the Errant unit and it fled 12 inches back.
There was still hope, the next turn would be make or break me.
Empire turn 3I declared a charge with my Greatswords into the flank of the KOTR which overran into the Swordsmen. My other movement saw my Crossbowmen move to block the charge of the Grails ensuring it would not run into the Spearmen. The Spearmen tried to reposition to angle itself to the Grails' flank if they charge into the Crossbowmen. My fleeing Free Company rallied and readied itself from a charge from the other Errant unit. My other 8-man Free Company moves in anticipation of the return of the Pegasus Knights.
Magic was great since I was able to cast The Beast Cowers with irresistible force on his Grails, ensuring they do not move the next phase! Shooting was also good as the Handgunners wiped out the fleeing Errants, and the Helstorm scatters and hits the Peasants, but poor partial hit rolls mean the rockets miss.
The Close Combat Phase saw my Greatswords caused 2 wounds! Hurrah! But my rising hope sank as the main KOTR unit with the Lords caused a huge number of wounds on the Swordsmen and Halberdiers. My armor save rolls were atrocious! With all the wounds caused on my units the entire game never did I roll a 6, not even once! Ergo and I lost combat! Break tests saw the Swordsmen ran, but luckily the Halberds held and the stubborn Swordsmen kept on fighting.
What I hoped to be decisive turned into a grind match.
Bretonnian Turn 3His Errant unit charged into my 3-man recently-rallied Free Company, and his KOTR unit moves closer to support the main battle. His Pegasus Knights entered the board and flanked the Handgunners. His Peasants moved into charge range of the Helstorm the next turn. Since Jojo won combat, his units get a free Reform so that they now face the units that flank them, and he forms a single line each to get more attacks in. His Grails' mounts cower because of my Mage's spell and did nothing.
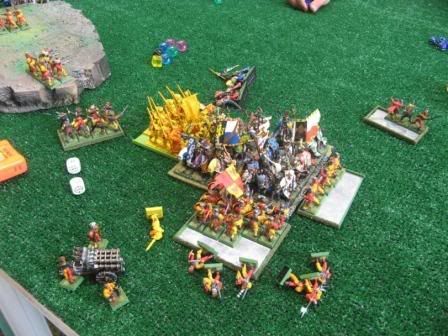
The grind continues. The Errants destroyed the Free Company and overran in front of the Handgunners. The KOTR with characters destroyed the remaining Halberdiers and the KOTR caused several wounds on the Greatswords. All my saves on a 4+ fail! That is what you get when they are primed in yellow! But due to their Stubborness they held fast.
Empire Turn 4I charged the 8-man Free Company into the Pegasus Knights. The fleeing Swordmen rallied and faced the right side in anticipation of the Knights closing in.
Magic was good as the Mage casted a successful Beast Cowers on the KOTR unit that was closing in on the main battle. Shooting was great as the Helstorm fired what would be its last shot, and managed to hit the recently victorious KOTR unit with the characters, kills a Mage as well a Knight! In a spectacular show of shooting, the Handgunners managed to wipe out the last 5-man Errant Knight unit! The Crossbows managed to kill a Grail Knight.
Hand to hand saw the Free Company fail to do anything, then lost, broke and got ran over by the Pegasus Knights, who overran into the rear of the Swordsmen unit!
The KOTR versus Greatswords battle continued, with Jojo giving more than he is taking (average of 2-3 casualties a turn by him, with 0-1 a turn by me). But again Stubborness made the Greatswords hold fast.
Bretonnian Turn 4His Grails charged the Crossbowmen, and his Peasants charged the Helstorm Battery. The KOTR with characters reform into a lance and faced the remaining battle. The Grails wipe out the Crossbowmen and stayed firm. The Peasants killed 2 of the Helstrom crew, but my Crewman not only killed one of them, but passes his Break Test as well! The Pegasus Knight killed a few Swordsmen, but the resulting combat was a draw.
Empire Turn 5My Spearmen charged into the Grails at a front angle since Jojo did not Overrun. Magic again saw me having a successful Beast Cowers attempt. Hand to hand saw my Spearmen bounced off the Grails, lost combat, broke off and got ran down (my last Mage was with this unit). The Peasants finished off the Helstorm crew. The Greatswords and KOTR kept on going at it.
At this point I conceded, my only remaining units were the depleted Greatswords and Swordsmen, and he had his Grail Knights, 2 KOTR units, plus the Peasants, and the KOTR locked in combat with the Greatswords.
Great game, Jojo! The Lady was really with you this game! All those made Ward Saves! Damn! While for me, Sigmar was on vacation (maybe my Priests were corrupt and with the faction of Johann Esmer). Critical points were when my Knights failed to do anything. I should always make them Inner Circle next time. Another critical point was when the Helstorm shot and caused Panic in the Free Company blocking his unit. Learning points! And I really should get a Helstorm Rocket Battery it has great potential to cause carnage especially against another horde army.
Result: Jojo's Bretonnians victorious!